

2. Pack it
Packing for the shoot
An overview
Now you know where you’re shooting from. You know how many shots your taken. You got the power and storage issues figured out. It’s time to pack. If you’re shooting a time-lapse sequence for fun, this will seem a little over the top just remember we’re talking about a commercial professional application. Redundancy is the name of the game, although I want to be able to walk into my time-lapse set up in one trip.
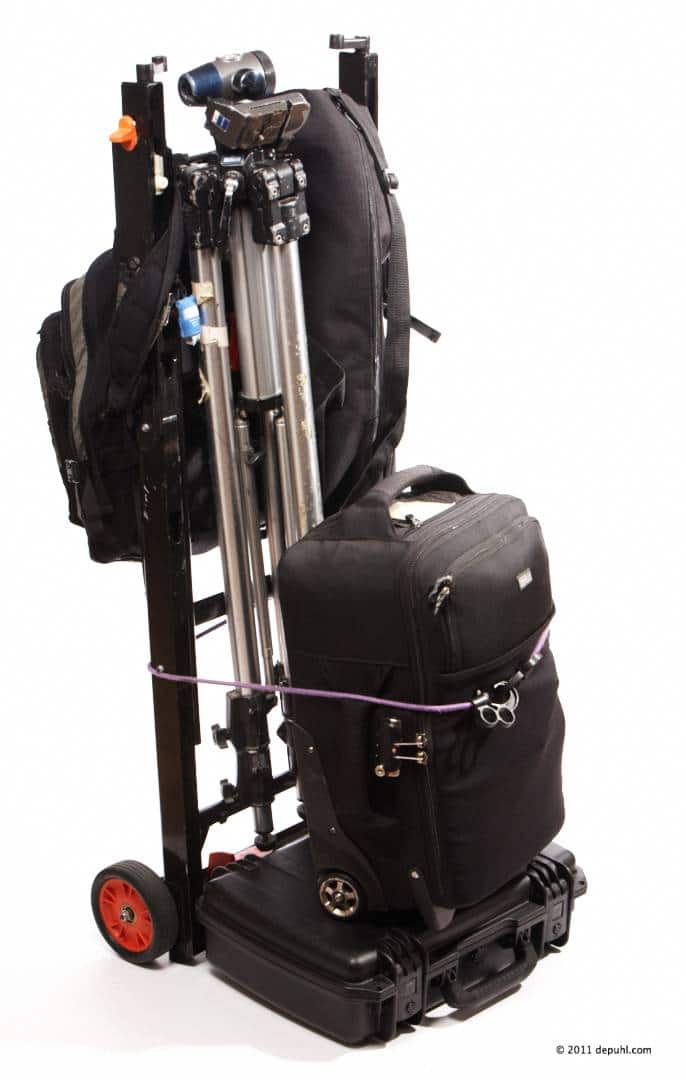
Everything I needed for this project fits on this one cart. I like this specific one, since it can double as a shooting table, once it’s unloaded. I’ll go through each bag in detail with everything that’s in it, but here is the overview: slung over the back of the cart (on my back when I go to location) is my grip pack: extension cords, data cables, clamps, rigging gear, some snacks, coffee mug, velvet and black fabric – more on those later – gaffers tape, ect. They are packed in a old computer back pack, just in case I want to bring a computer to shoot the ‘B’ camera tethered as well. On the very bottom is my computer case that holds computer, hard drives, card reader, data cable, power supplies, … on top of that is my camera bag that holds cameras, lenses, CF cards, video cage, filters, moregrip gear, batteries, credentials, business cards, … behind that is my tripod (Bogen 3058 with a Gitzo Ballhead 1576) for the time-lapse ‘A’ camera and my sticks for the video work (Manfrotto 547 with 701 HDV fluid head).


The dolly is one I picked up at Home Depot a while ago, I like it because it folds into a table once you got all your gear off the dolly:


The camera bag
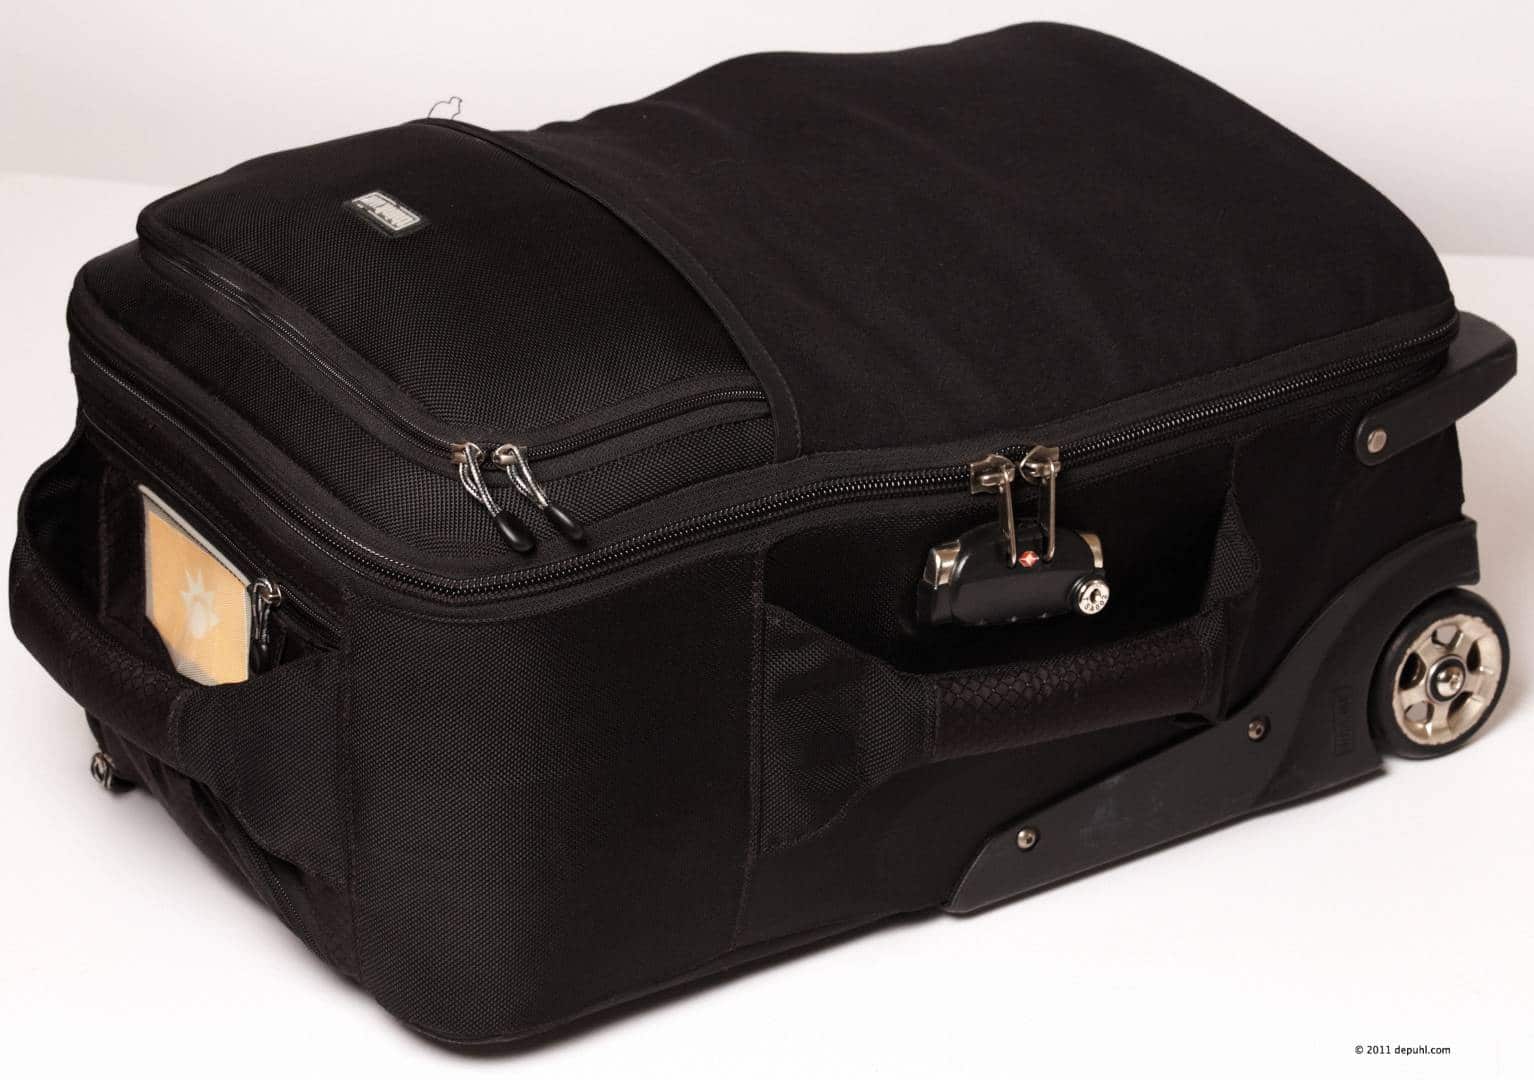
Over the course of many years of professional photography you accumulate a bunch of little tools, tricks and hacks that end up living in your camera bag. I took a bunch of them out for this assignment, like radio slaves, flash meter, sync cords, … As you’ll see there is a lot of gear that comes on a shoot with me, so I love my camera bag (ThinkTank AirportInternational 2.0). It’s a rolling case that fits on an international flight as hand luggage at least what dimensions are concerned. Now if someone could make it fit the weight restrictions too … but that’s another story. This case has no issues rolling, even if it’s fully loaded. It also features a lock on the case and a cable lock to secure the case to a stationary object.
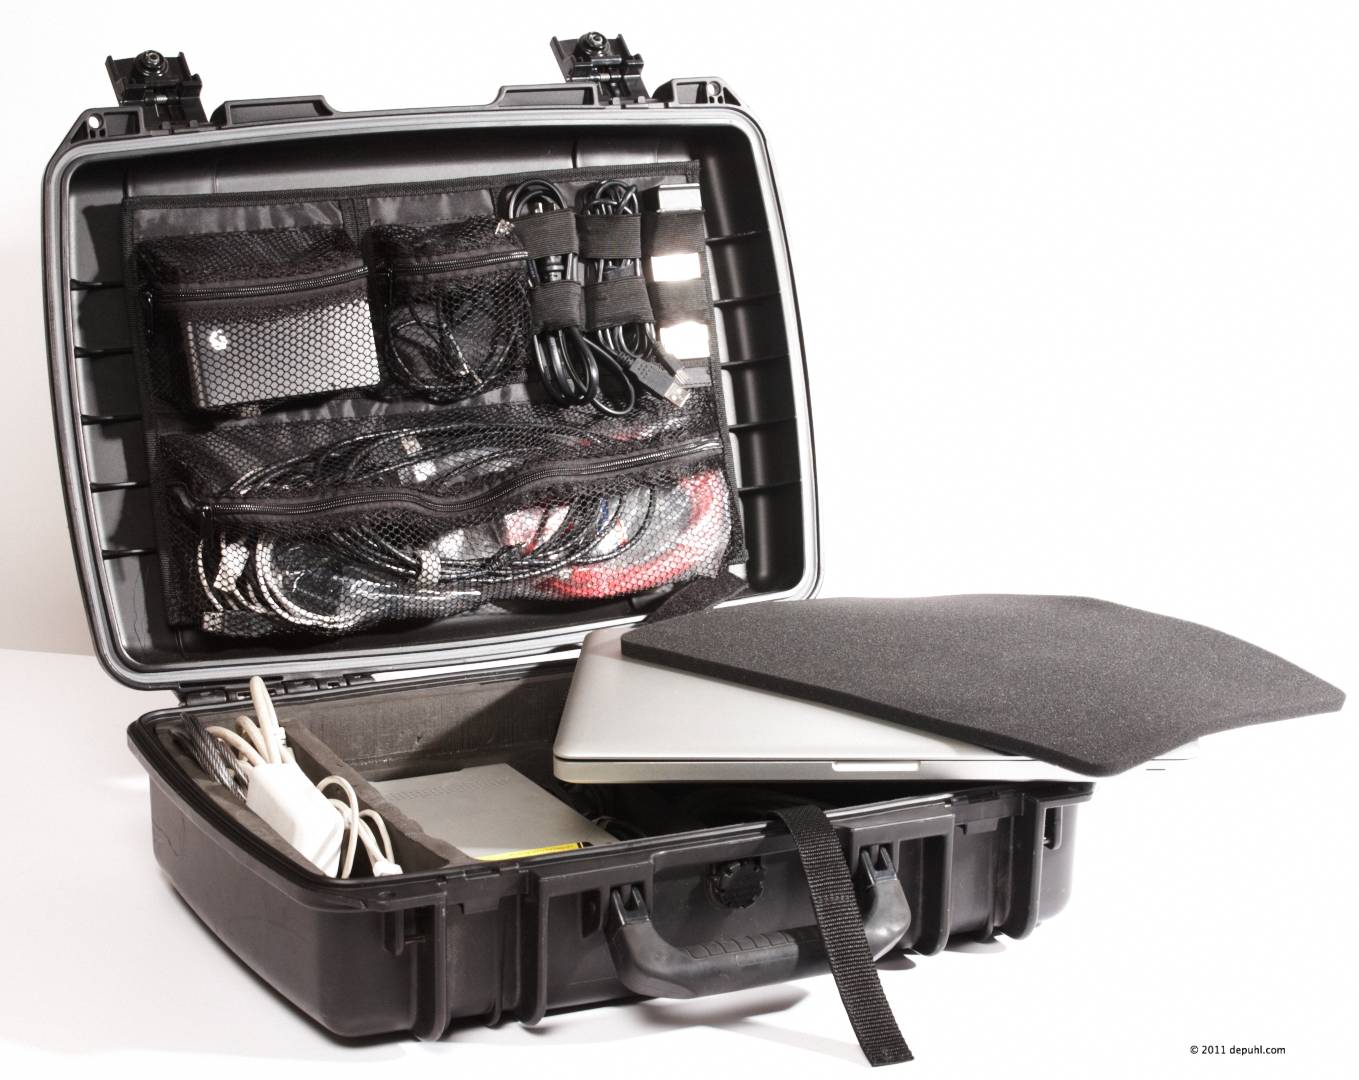
Here is the case open and packed. Remember that there is a second 5D that lives here, but it’s being used to photograph the images for this blog post.
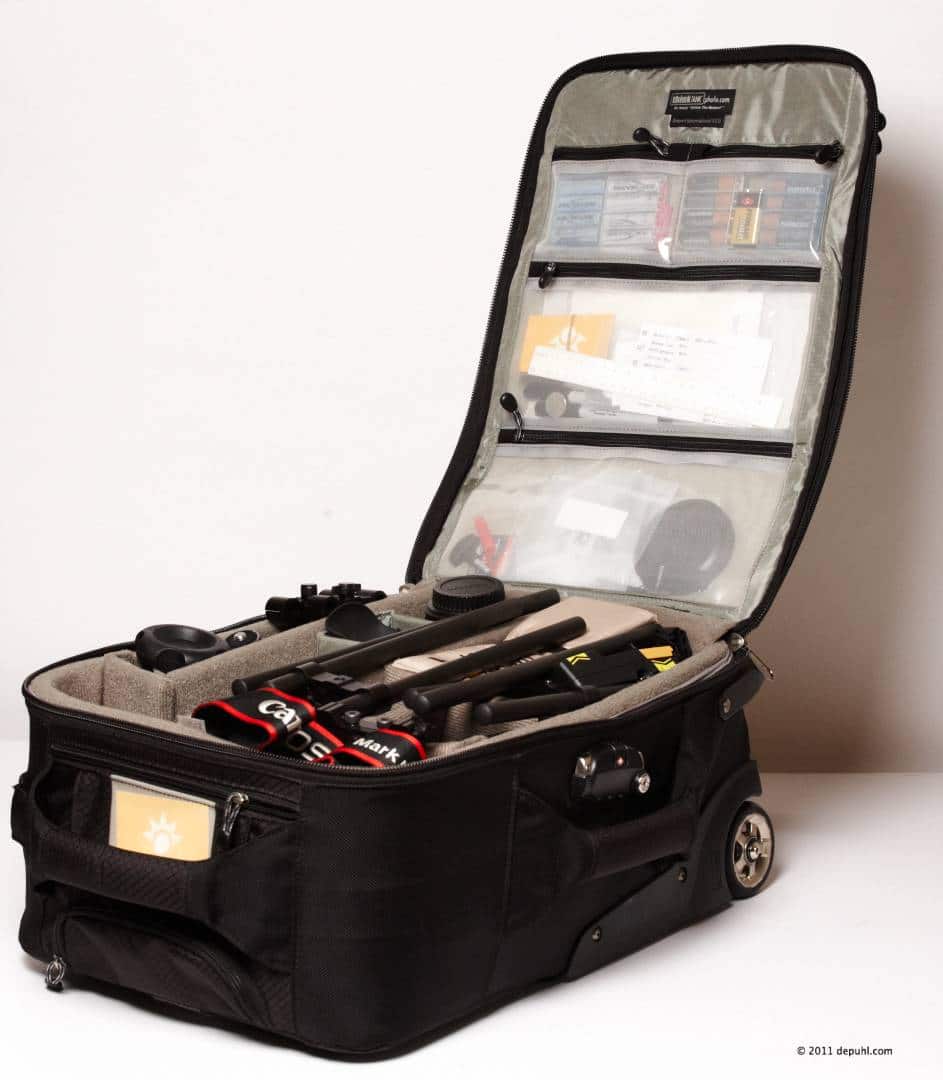
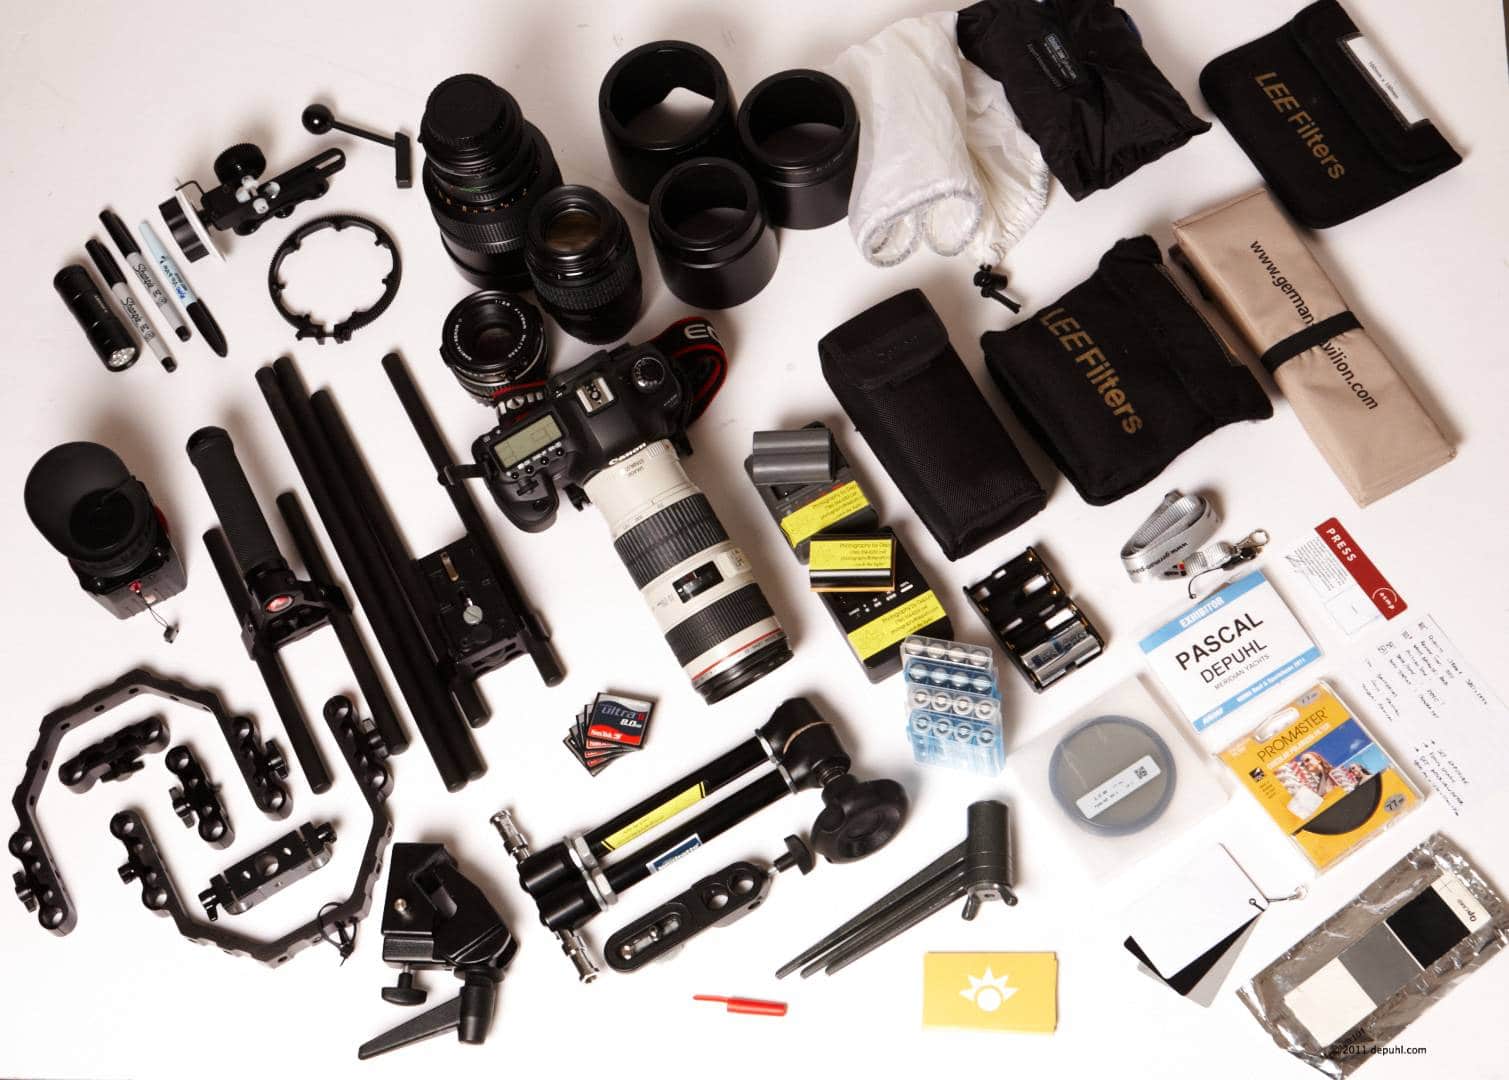
Let’s go through some of the gear that came with me. Much of this is personal preference, this is my kit, use this example to build your own.
Cameras:
Two Canon 5D Mk II’s. Awesome video camera and still camera. We shot one for the stills in the time lapses and one for all the ‘B’ roll – video and time-lapse.
I used my Canon 5D to shoot some stills and behind the scenes photos. This particular job had 3 cameras going.
Extra batteries and chargers. 8 camera batteries, 3 chargers.
Canon on camera speed light – never left the bag. That was there just in case I needed it for some of the still images.
Lenses:
Canon 24-70 mm 2.8 L. Most of the video was shot on this lens as well as all the ‘B’ roll time-lapse.
Canon 24-105 mm 4.0 L. The lens for the ‘A’ camera’s time-lapse. Focus and zoom got taped once we got the camera set.
Canon 100 mm 2.8 macro. I love this lens, but it never came out of the bag.
Canon 70-200 mm 4.0 L. Love the Image Stabilisation on this lens for shooting video.
Mamiya 500 mm 8.0 mirror lens. Just a fun lens to have. It’s big and heavy.
Mamiya 70 mm 2.8. Never left the bag. The Mamiya lenses are attached with a mechanical adapter.
Filters:
Lee ND 3 gradated filter
Circular polarizing filter
LightCraft Fader – essential for shooting video out doors. Unless you want no shallow depth of field – but then why are you shooting a MkII?
Canon lens hoods and Lee compendium. Use them. ‘nough said.
Grip:
Manfrotto Magic arm with Super Clamp and camera plattform. If you hang your camera 40 feet over a concrete floor, you want to be sure that your support does not fail. So are you really gonna trust that $10.- deal you got on Ebay? The arm preformed flawlessly. It articulates to where you want it and then locks down solidly with one big knob.
The white fabric next to the lens shades is a rain coat for the camera and lens – it lives in my bag and only comes out when it needs to protect the camera. The black bag next to it is the raincoat for the Camera Bag that comes with the rolling case (thank you ThinkTank!).
Flashlight. Grey balance card. White balance card. Business cards. Press Pass. Credentials for all access at show.
Video:
Zacuto Z-finder. You’ll want one to pull focus. Get the anti-fog version – or upgrade to it. You’ll need it.
Follow Focus. Essential for smooth focus pulls. More an art than a science. Don’t forget the wet erase marker for marking the points your pulling to and from.
Easom Cage. Protects the camera and follow focus assembly, allows you to attach audio recorders, monitors, ect. to the rig. The other great design detail is that the camera plattform and the tripod plate move independently from each other so you can balance the camera on sticks for pans and tilts.
The computer case
I love these cases – I have a few of them. This one (Hardigg’s storm case) is like a armored briefcase for your laptop. I also have a shock mounted rack case for the bigger shoots, but again – that’s another story …
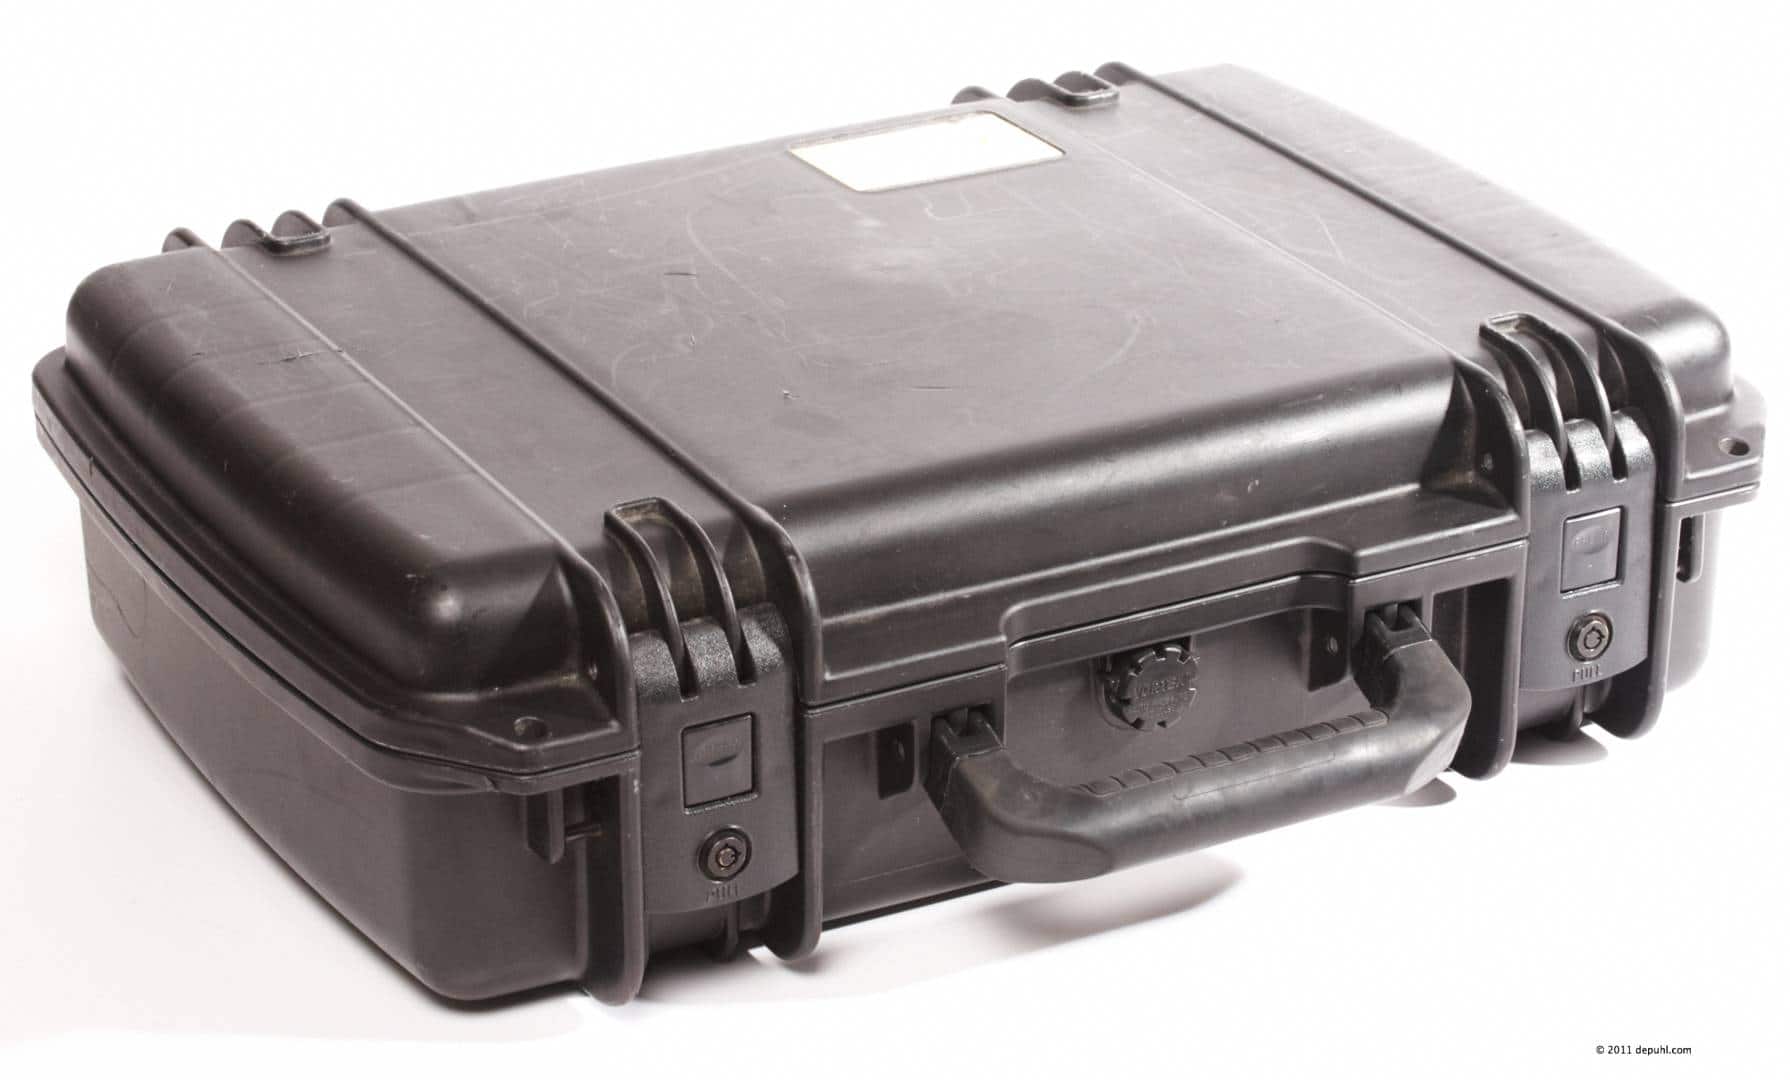
These guys are basically bomb proof – well at least water proof and crush proof they do an awesome job protecting your fragile electronics. I like these because of their unique latch design – they don’t bust your knuckles like other cases. Like the photo bag, there are a lot of little details in the case that get added over the years.
Computer:
Mac Book Pro with a 2.53 MhZ processor, 4 GB of RAM and a fast 320 GB harddrive.
We also used a Mac Book Air as the computer that the ‘A’ camera was tethered to.
Harddrives:
1.5TB drive in a Wiebetech enclosure. These enclosures rock. I have the single one that I travel with and then dual and quads at the office. You can slide the actual HD’s out of the enclosures. They’re interchangeable and pretty cool. Great Product.
2 750GB bus powered HD’s
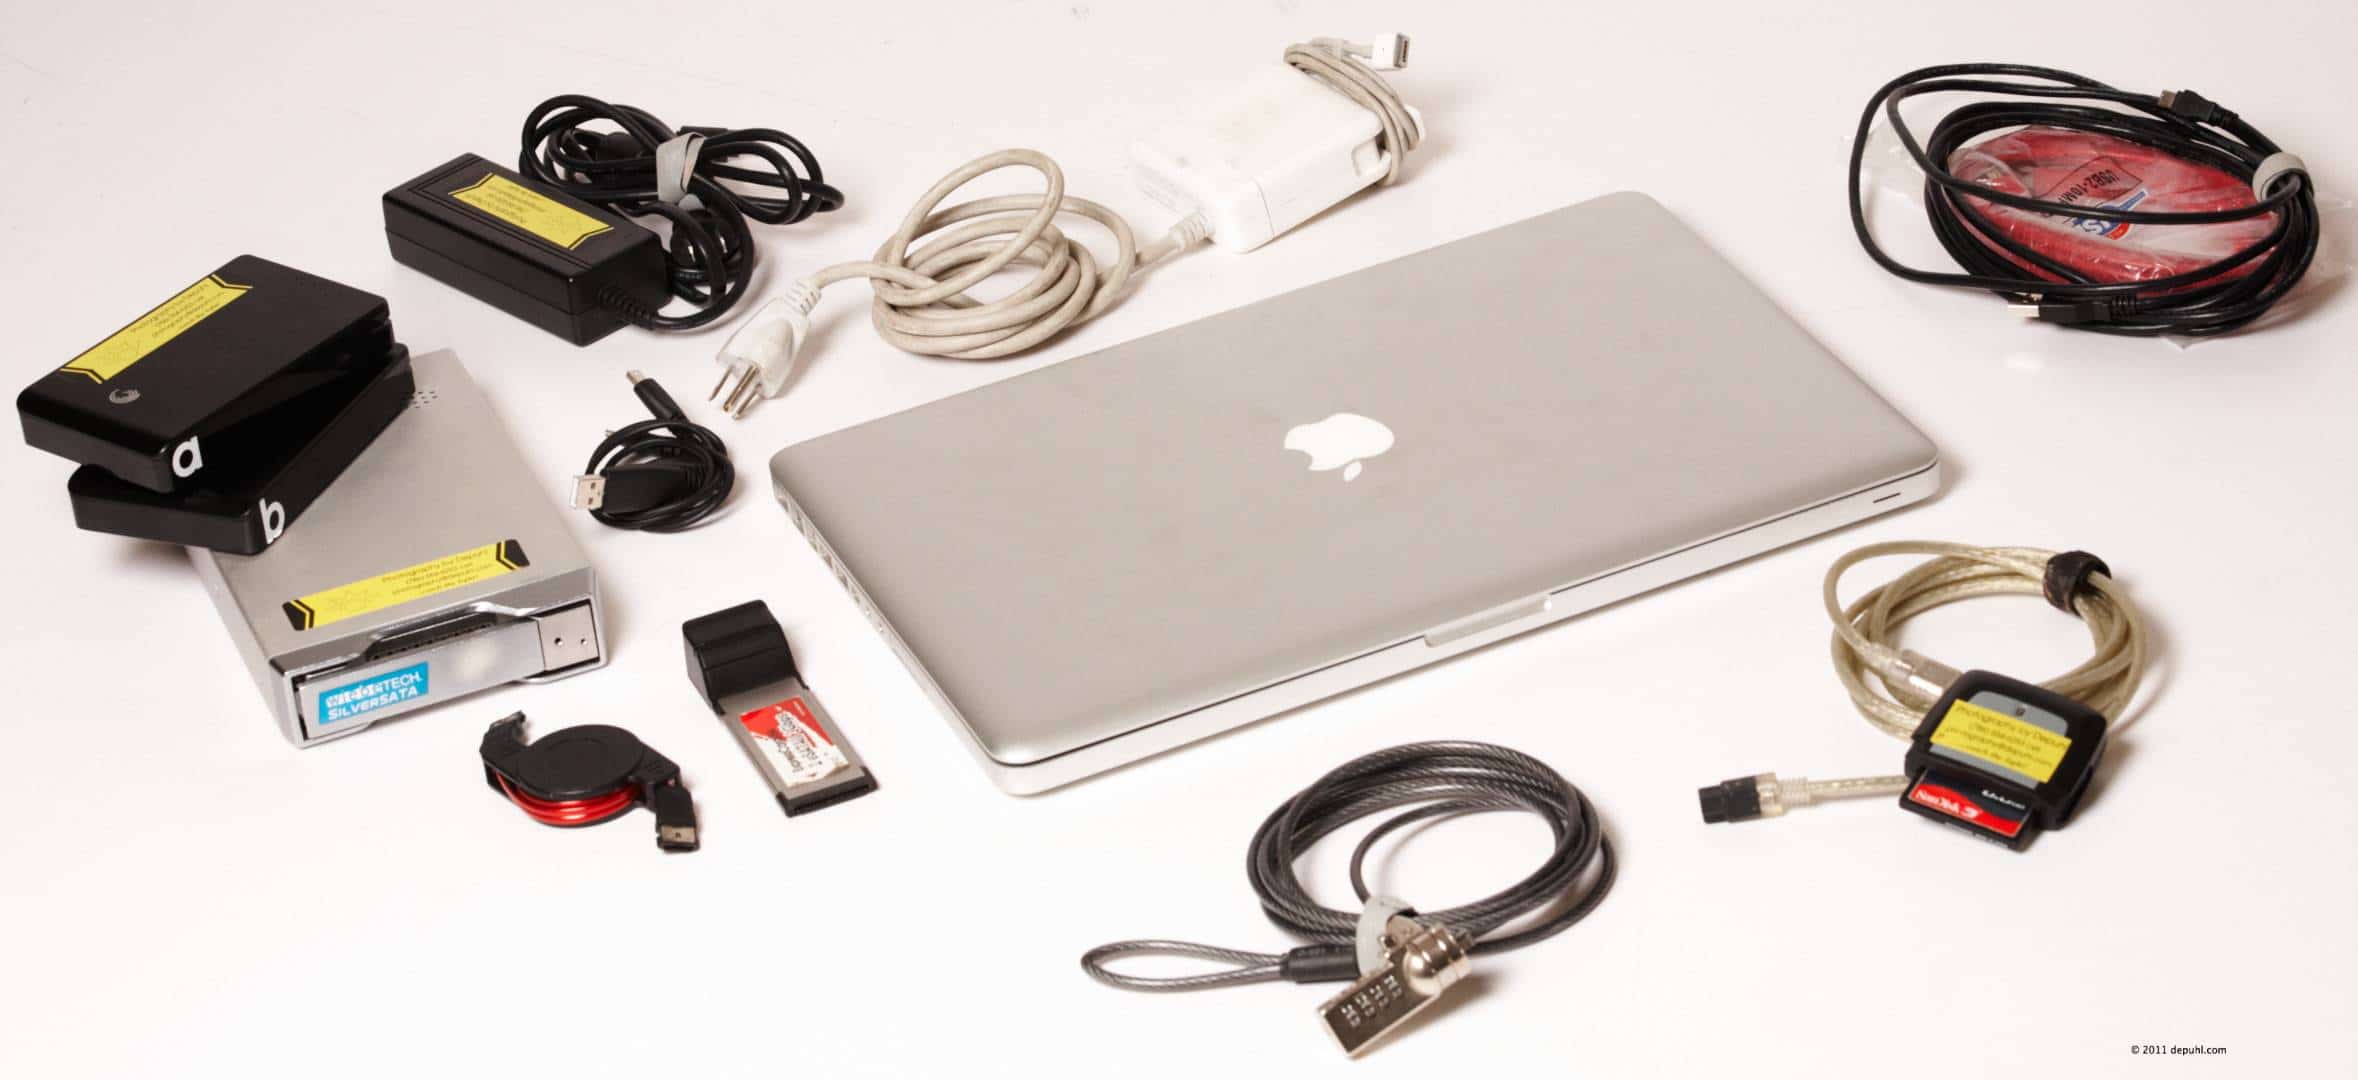
Power supplies, lock, CF card reader, another set of USB data connections for the camera, firewire cables, eSATA card and cables.
The grip pack
You can go over board packing for the unknown – that’s why scouting pays off – good scouting that is. Where o you have power? Is it enough power? Who is in charge of the location that you’re in? Who can override their decision? How do you secure your gear or do you want to sit next to it for 10 hours a day; other than being boring that means you won’t be able to do anything else.
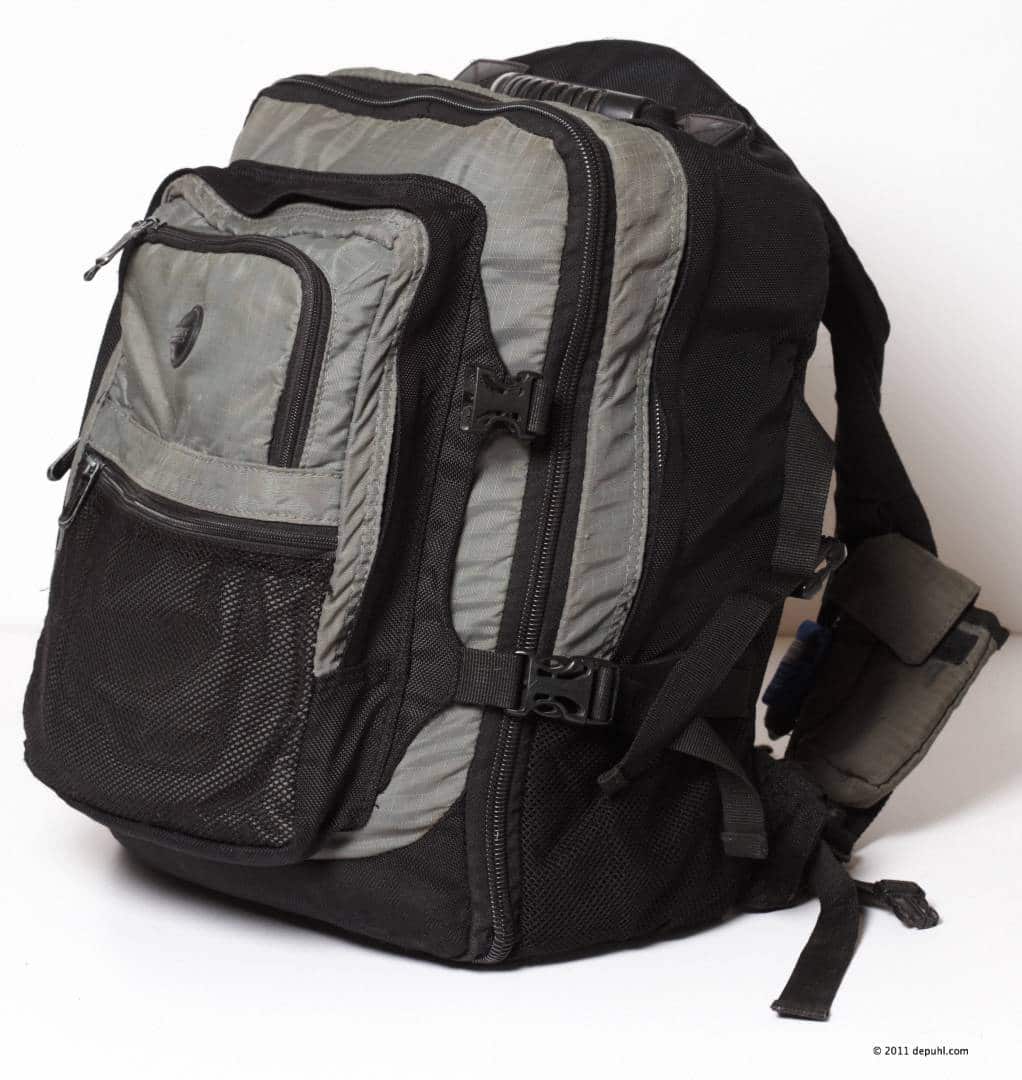
Back to packing – my grip/rigging bag is an old computer laptop back pack (Targus Computer back pack). I specifically chose this bag for this assignment, because I had to shoot up in the catwalks 40′ above the ground, with the only access being a small spiral stair case. That means no cases, no tripods and no carts up there. I need to be totally mobile – so camera in hand and grip/rigging gear on back – and I can slip the computer into this case, if I had to.
Since we are shooting a long day we need to get power to the computer that’s running the time-lapse camera. A few hundred feet of extension cords do the trick, along with some surge protector strips – since we are charging camera batteries, running lap tops, ect.
Rigging gear, i.E. webbing, carabiners, ratchets, clamps, … for securing the camera when it gets suspended from the catwalks and boat railings. Some coffee (gotta have coffee – no that’s not a canon lens – it’s a canon coffee mug :) thanks Trevor).
The black cloth in the foreground is a 3’x3′ piece of velvet. When I scouted the location, I saw that we were going to shoot through the glass of the restaurant we were shooting from and that we needed to eliminate the reflections for the time-lapse. Gaffer tape this piece to the window, lens goes through a hole in the center – secured by a rubber band. No more reflections. Make sure that the fabric does not vignette in your lens.
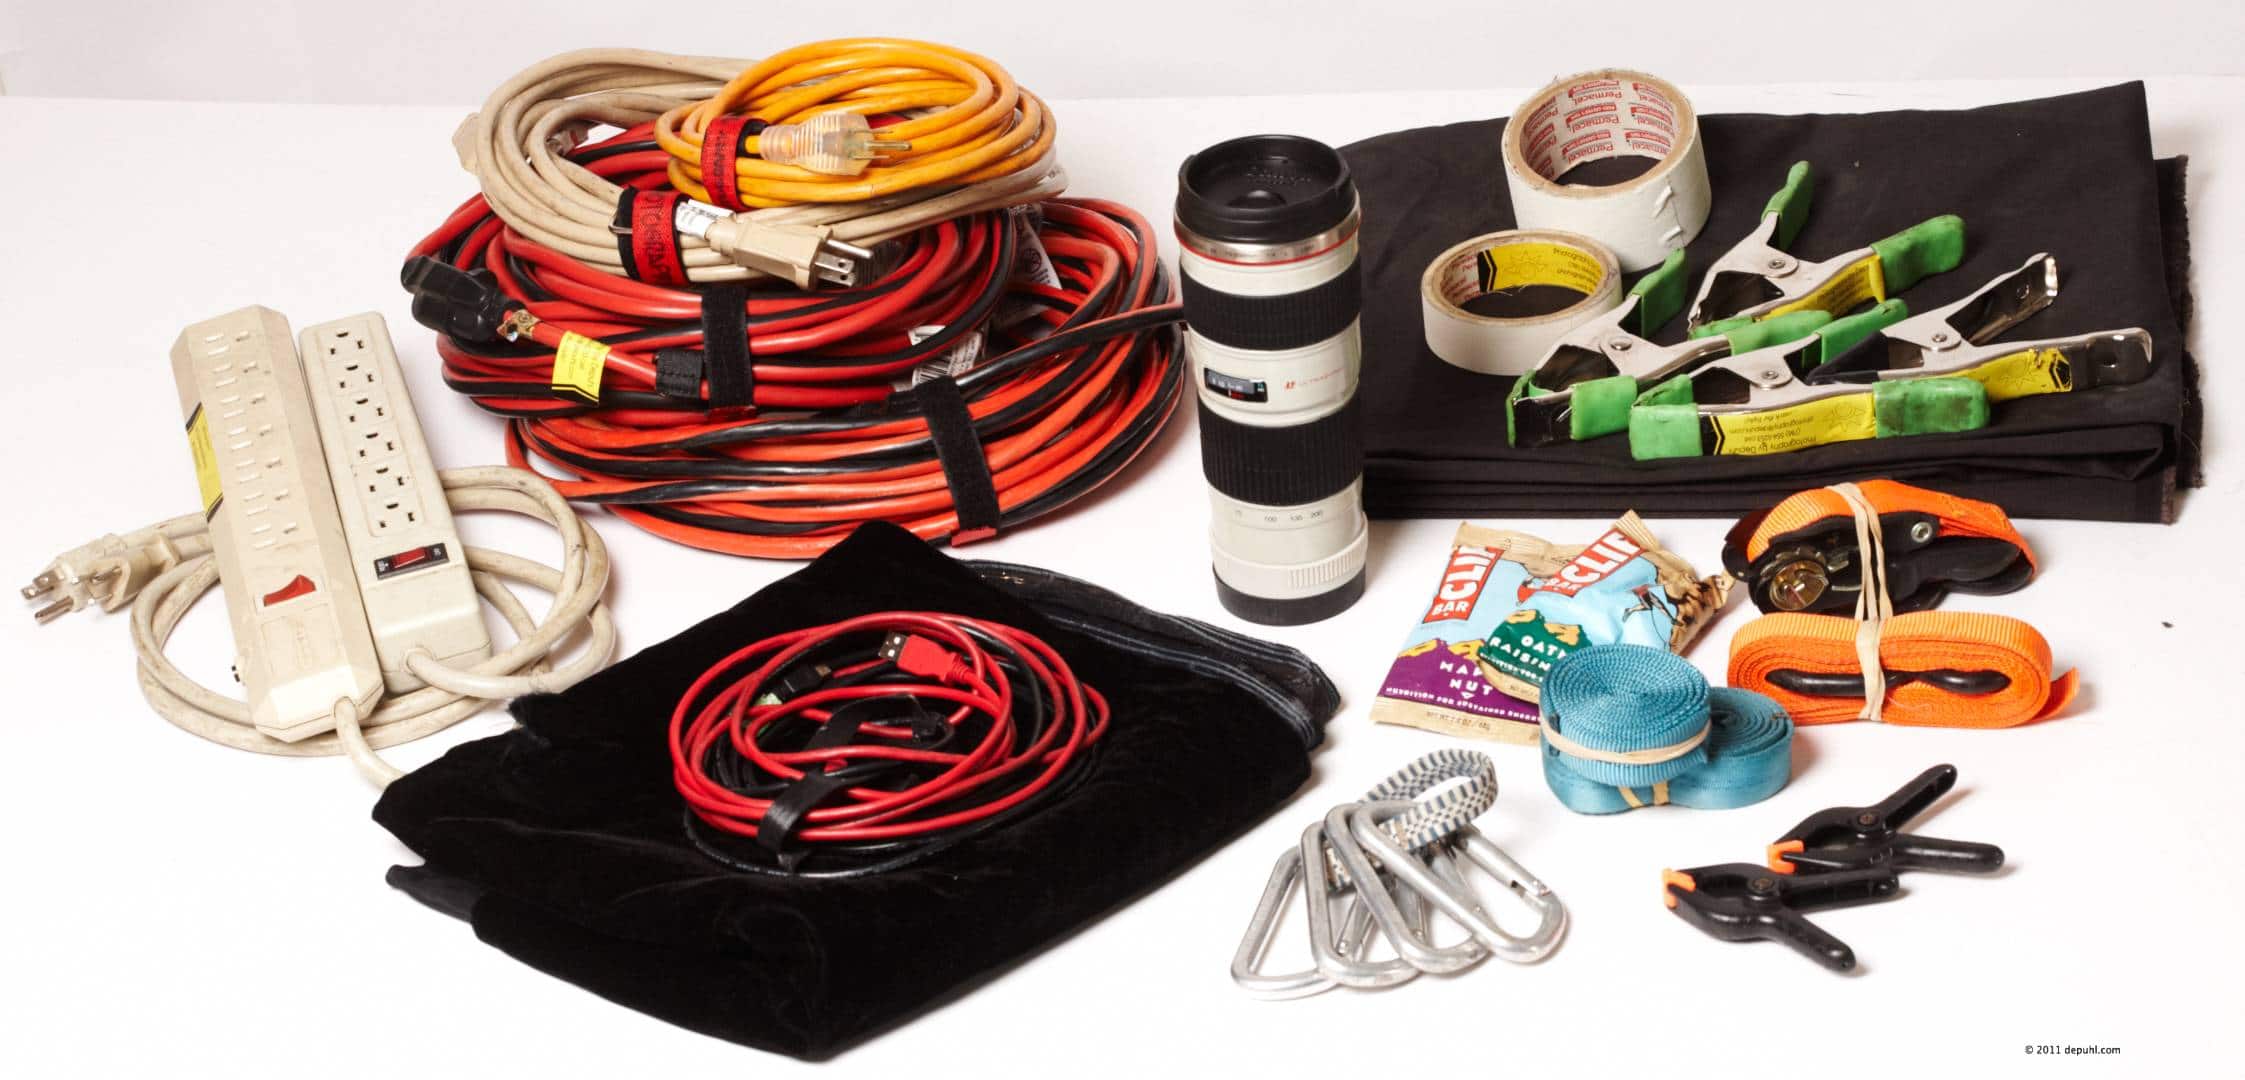
The other black fabric is a large piece of canvas to put down on the super dirty catwalks (that no one has EVER cleaned), so I can lie down and place equipment on a clean surface.
Now that you’ve finished planning and packing it’s time to photograph your time-lapse project.
Go on reading and see the finished commercial time-lapse project on Friday.

[…] about all the planning that goes into a commercial time-lapse project and I have also broken down how to pack for a multi-day photography assignment like this. I will post about the actual photography of this job, which is now been completed as […]